For about 2 years now, I have been using Komodo IDE from ActiveState for web development, and on the whole I have been very satisfied with it. There are a couple of issues that have arisen, but normally there is some way to get around them with a minor change of workflow.
However, one issue has concisely bothered me, so I thought it was time I investigated a way to fix the issue: PHPUnit testing.
Out of the box, Komodo will not do unit testing for PHP, so the first thing I had to do was download PHPUnit. Do do this, I needed to install wget using home-brew (for more information about this, go to http://brew.sh).
So, once wget is installed, I followed the instructions on the PHPUnit website to install PHPUnit globally so that it would be accessible no matter where it was called from:
wget https://phar.phpunit.de/phpunit.phar
chmod +x phpunit.phar
sudo mv phpunit.phar /usr/local/bin/phpunit
Thinking that would be it, I created a small test case:
<?php
class TestClass extends PHPUnit_Framework_TestCase {
   public function testMethod() {
      $this->assertTrue(TRUE);
   }
}
?>
With a simple test plan:
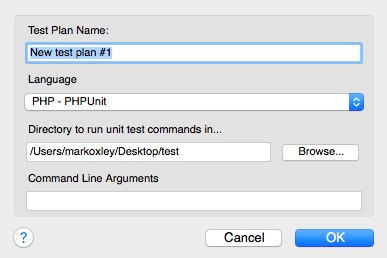
Executing the test, however, resulted in no output. Obviously something was wrong.
After trawling through the Komodo forums and StackOverflow, and little bit of Googling… I came across an unofficial fix for this on GitHub: Komodo PHPUnit Harness
I had found other solutions, but this one seemed the simplest, and I like simple… less to go wrong.
After download the source from the github, and quickly reading the documentation, I realised that I needed to move the PHPUnit executable to part of the Komodo application package. Simply done with this:
sudo mv /usr/local/bin/phpunit '/Applications/Komodo IDE 9.app/Contents/Resources/python/komodo/harnesses/php/Base/PHPUnit.phar'
Note: if you are just doing this without making the mistake I originally made, you don’t need to move PHPUnit to /usr/local/bin, just copy it directly to ‘/Applications/Komodo IDE 9.app/Contents/Resources/python/komodo/harnesses/php/Base’
Then I copied the new versions of HarnessSelector.php and Printer.php into the same folder, over-writing the existing ones.
Again I tried the test plan in Komodo:
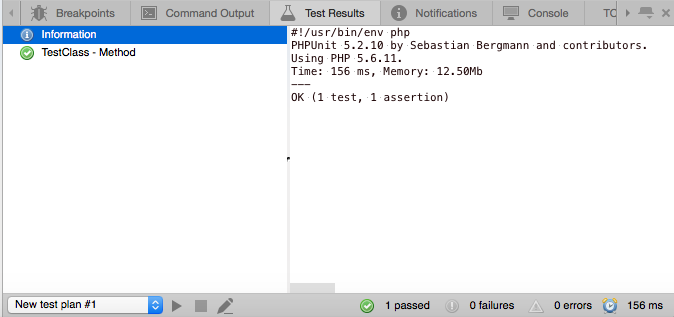
Yay! Success!
Now only two things remain:
An easy way to create unit test modules
Code completion for the unit test classes
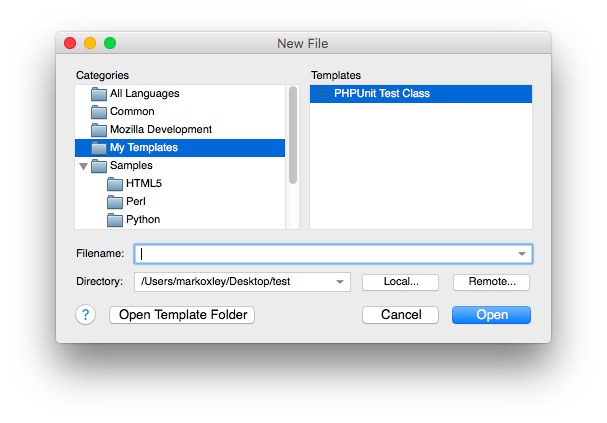
The first part is easy. I created an empty test case class, basically the same as the class I created before. This I then saved in the templates folder: ~/Library/Application Support/KomodoIDE/9.3/templates/My Templates.
Now I can create a new test case file from the File Menu in Komodo, by selecting New->File From Template…
The code completion is a little trickier, but was still quite simple. Komodo has the ability to read in files from a folder to aid code completion. The setting for this can be found in the Preferences window of Komodo:
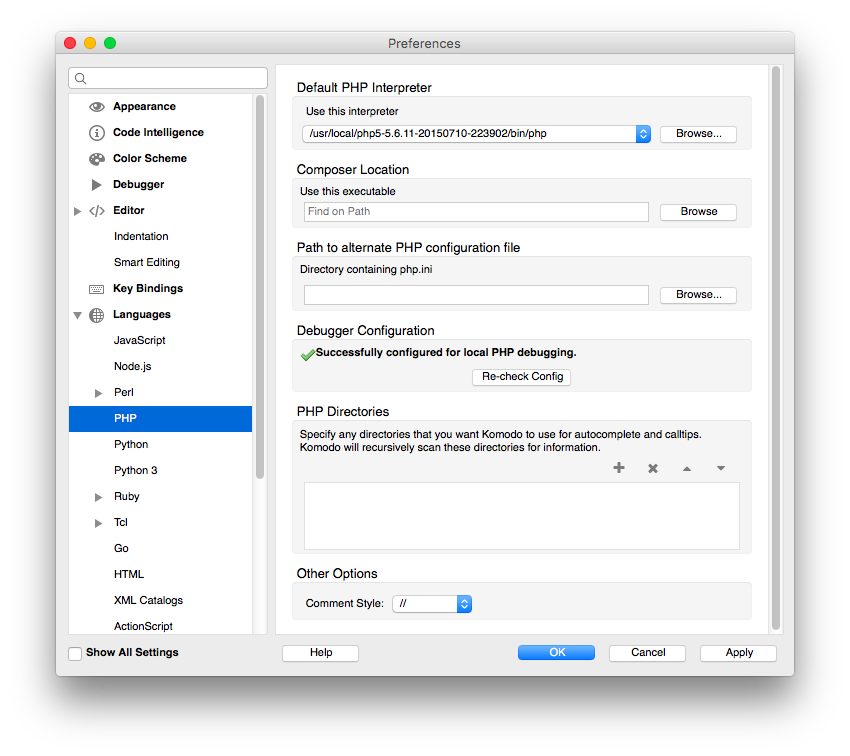
This setting allows us to point to the PHPUnit source, however, I didn’t have that yet… so back to Github to download the source: PHPUnit
Once I had that, and unzipped it, I wanted to keep everything neat and self contained, so I copied the relevant folder from the source to the test harness within the Komodo package. I only really needed the Framework folder in the source, so that’s all I copied to /Applications/Komodo IDE 9.app/Contents/Resources/python/komodo/harnesses/php.
Unfortunately, the preferences window wouldn’t allow me to select a folder within a bundle, so I ended up editing the prefs.xml stored in ~/Library/Application Support/KomodoIDE/9.3 manually. I found the String node of the XML with the id attribute of phpExtraPaths, and changed the value of that node to: /Applications/Komodo IDE 9.app/Contents/Resources/python/komodo/harnesses/php/Framework
I actually did this last step twice because I had Komodo open the first time and it restored the original setting when I closed it. So, if you are doing this, make sure Komodo is not open when you edit the prefs.xml.
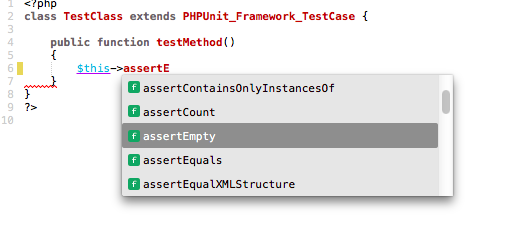
As you can see in the following shot, I now have code completion for PHPUnit.
The downside of all this is that I will need to redo these steps whenever Komodo IDE is updated, but it does now allow me to enjoy the benefits of unit testing in my PHP projects from within the Komodo IDE.
The original of this tutorial can be found on my blog: [Pengwin’s Dev Blog][1]
Please note: This is for the OS X version of Komodo IDE
[1]: http://pengwindev.blogspot.co.uk/2016/03/komodo-ide-and-phpunit.html
